
Selecting the Right Guard House for Your Site
Choosing the right guard house requires balancing traffic volume, structural durability, and site logistics. By evaluating your peak vehicle counts, assessing material specifications like heavy steel or aluminum, and preparing a level concrete foundation, you secure a reliable perimeter asset that protects personnel and optimizes daily access control operations.
Evaluating Site Requirements and Initial Planning
You cannot secure a perimeter effectively if you place your security asset in the wrong spot. Before you buy a guard house, you need to look at how people and vehicles move through your gates every day. Walk your property line during peak hours. Watch where trucks stack up, where visitors park, and where pedestrians try to slip past your checks. Your security plan depends on putting personnel right where the risks are highest, rather than where it looks neat on a site map.
Assessing Security Needs and Traffic Volume
Traffic volume dictates the physical layout of your security station. If your facility sees hundreds of semi-trucks daily, your security personnel need direct, face-to-face contact with drivers at window height, plus plenty of room for security equipment, badge printers, and multiple monitors. Low-traffic sites only need a basic setup for one person to log occasional visitors. Map out your peak hourly vehicle count before you talk to any suppliers. If you underestimate this number, your security team will struggle with backlogs, and drivers will grow frustrated at the gate.
Determining Placement and Accessibility Constraints
Physical space always dictates what you can install. Measure your gate entrance twice, accounting for turning radii for large delivery trucks that need clearance even when the security gate is closed. Check overhead power lines, underground water mains, and drainage slopes. A heavy security unit needs a solid, flat approach. If you tuck your security post too close to the driving lane, you risk vehicle impacts; if you push it too far back, your guards lose visibility of the approach.
Comparing Modular Solutions and Structural Options
When you look at modern security structures, you find a wide gap between light aluminum booths and heavy-duty steel builds. The right choice depends on your local climate, your budget, and how long you plan to keep the unit in that exact spot. We see too many buyers pick a cheap booth for a harsh industrial yard, only to replace it two years later when the walls dent and the seals fail.
Weighing Durability and Material Specifications
Material choice dictates how long your investment lasts under heavy daily use. Steel stands up to physical impacts and harsh weather, while aluminum offers a lighter, rust-resistant option for mild climates. Below is a direct comparison of the structural options you will evaluate:
| Material Type | Primary Benefit | Best Use Case | Trade-off |
|---|---|---|---|
| Heavy Steel | Maximum impact resistance and longevity | Industrial yards, high-risk perimeters, heavy traffic gates | Higher initial cost, heavy weight requires crane placement |
| Aluminum | Rust resistance and lighter weight | Coastal zones, corporate campuses, moderate weather | Lower resistance to heavy impacts or forced entry |
| Fiberglass | Chemical resistance and easy cleaning | Industrial chemical plants, specialized processing facilities | Can crack under sharp, heavy blows |
Sizing the Unit for Operational Efficiency
Size your unit based on who and what goes inside, not just the footprint available. A compact 4x6 foot booth fits a single guard standing watch, but it leaves zero room for a desk, climate control, or a restroom. If your shifts run eight or twelve hours, your staff needs space to sit, eat, and monitor camera feeds without tripping over equipment. Plan for at least a 6x8 foot footprint if you want to keep two people comfortable during a shift change.
Selecting a Guard House Container for Rapid Deployment
If you need a security station on your site next week, traditional construction will not work. Converting a shipping container into a guard house container gives you a rugged, secure structure that arrives ready to plug in. These units start as standard steel cargo boxes, which means they already possess the structural integrity to withstand rough handling, forced entry attempts, and severe weather without flinching.
Evaluating Transport and Placement Logistics
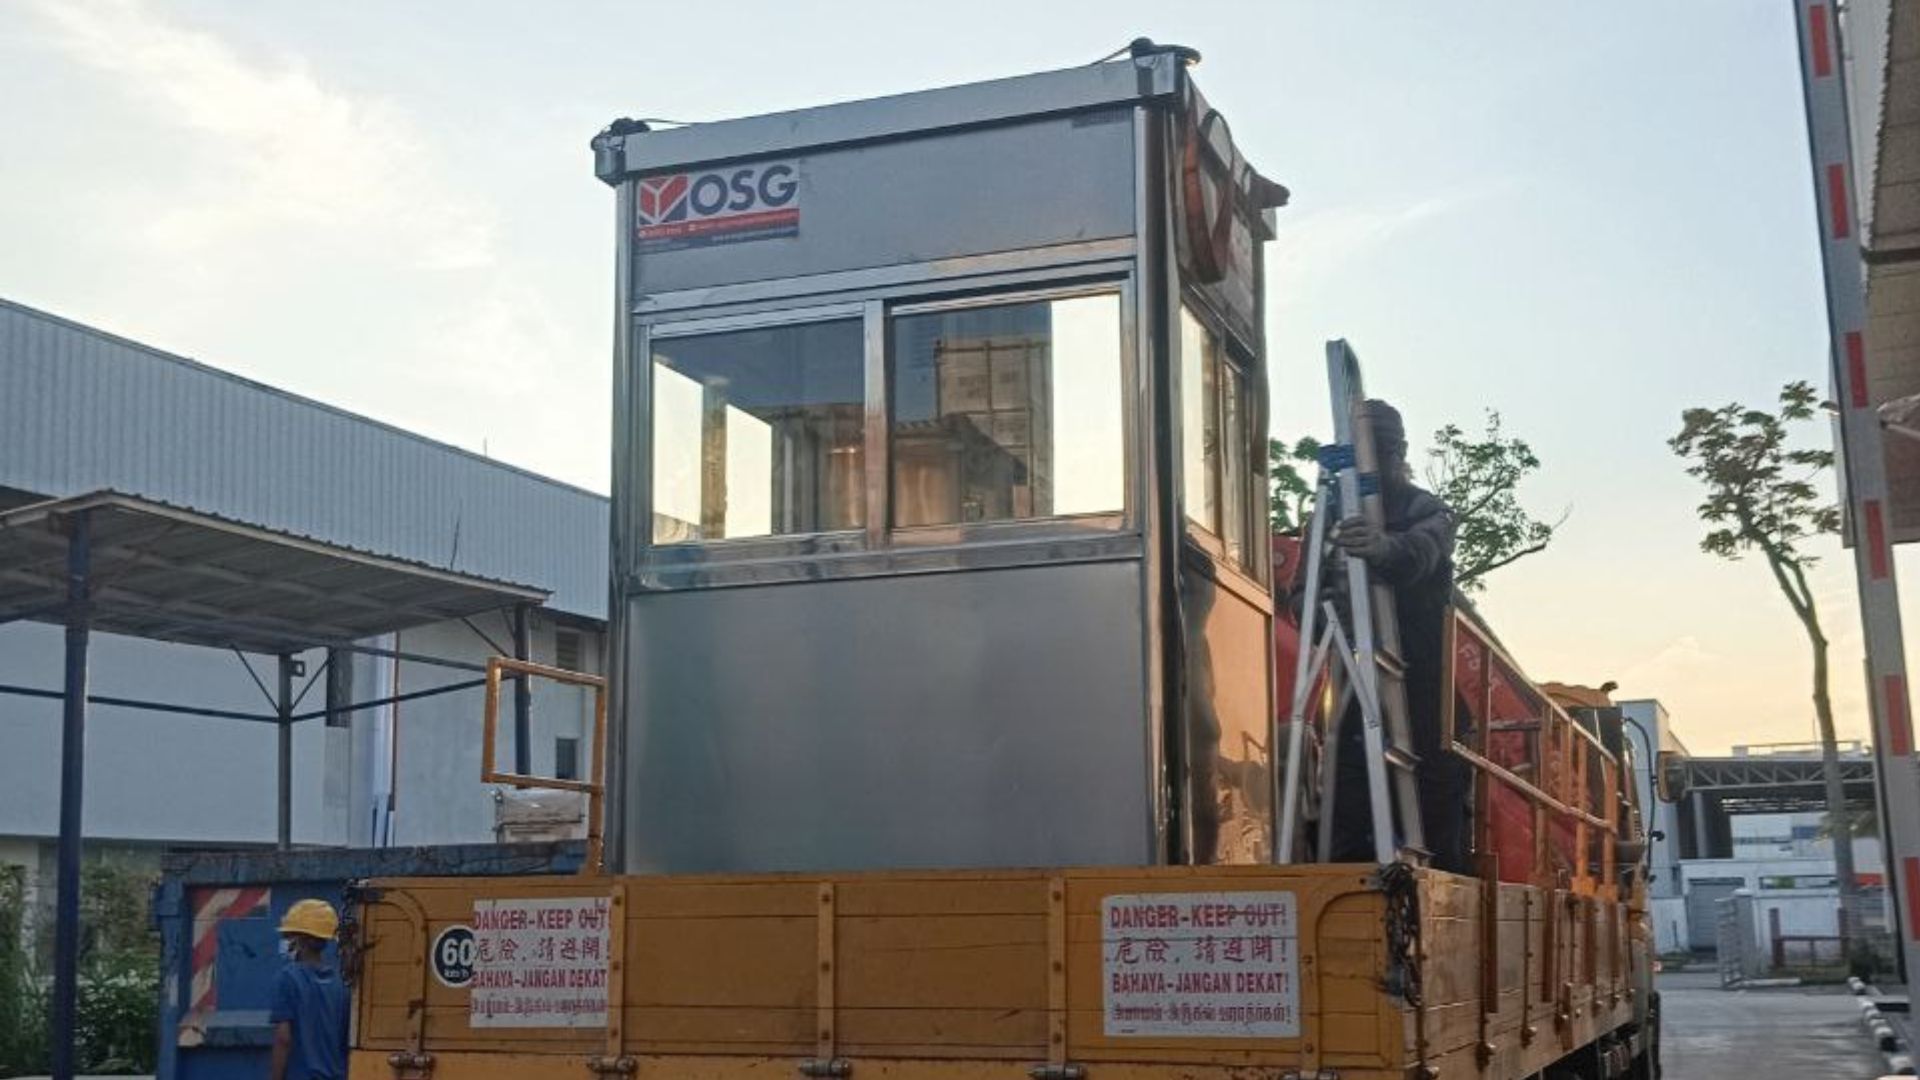
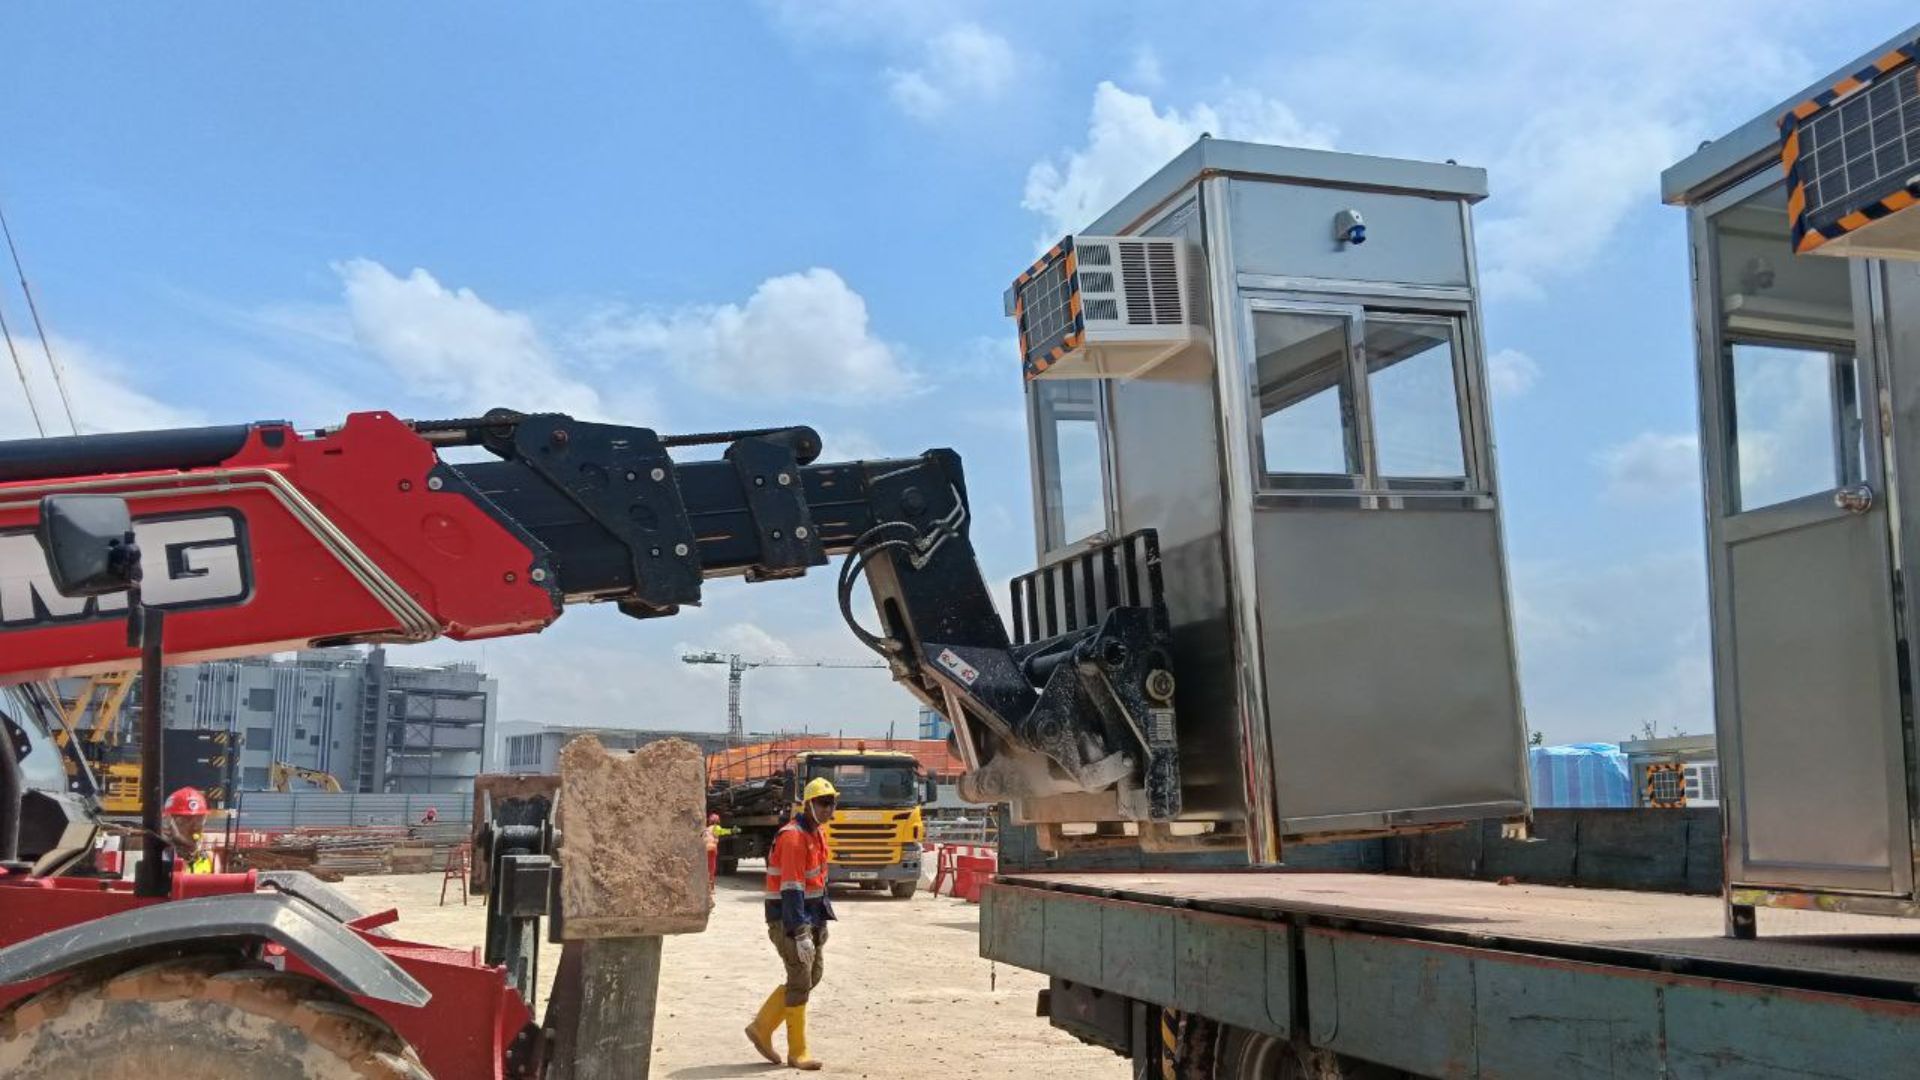
Moving a steel container onto your property requires careful coordination with flatbed trucking and crane services. You need to verify that the delivery truck can reach your gate without getting stuck in soft soil or clipping low-hanging branches. Clear a wide path for the drop-off zone. Once the tilt-bed truck or crane arrives, placing the unit takes less than an hour if your foundation pad is ready and waiting.
Reviewing Utility Hookups and Internal Setup
A bare steel box is just a shelter until you add power, data, and climate control. Most quality units arrive pre-wired with standard electrical panels, interior lighting, insulation, and wall-mounted HVAC units. When you plan your site, make sure you have a nearby power source ready to tie into the exterior junction box. Run your data lines for internet and intercom systems at the same time so your guards can connect to your main network on day one.
Choosing Between a Guard Post or Guard House Configuration
The terms sound similar, but a guard post and a guard house serve very different operational missions. Selecting the wrong layout means your staff either lacks the visibility they need or spends money on space they never use. Look at your site risks and decide whether your guards need to interact constantly with the public or simply monitor a restricted zone from a distance.
Matching Line of Sight to Perimeter Risks
Your security team must see every angle of approach without leaving their seats. A minimalist guard post often features 360-degree glass walls, designed purely for observation at parking lot entrances or internal campus checkpoints. A traditional guard house offers more solid wall space, better insulation, and targeted window placements that protect vulnerable electronics from glare and direct sunlight while still covering the primary gate.
Balancing Staff Capacity and Comfort
Think about how long your team spends inside the unit at a stretch. A simple post works well for short shifts where guards rotate out frequently, but it offers little shelter from extreme heat or cold. If your guards pull long shifts through freezing winters or scorching summers, you need a full guard house with proper climate control, acoustic insulation, and ergonomic space to prevent fatigue and keep alertness high.
Deploying a Prefab Guard House on Location
Bringing a prefab guard house to your property cuts months off your timeline compared to building a permanent brick structure from scratch. Because the factory builds the walls, roof, windows, and electrical systems off-site, your job shifts from construction management to final site integration. Treat this phase with care to ensure your new asset stays level, dry, and fully powered for years to come.
Verifying Foundation and Leveling Requirements
Even the toughest prefab unit will fail if the ground beneath it shifts or settles unevenly. You must prepare a solid foundation before delivery, whether that means pouring a concrete slab, laying crushed stone, or setting down concrete piers. Use this step-by-step process to get your pad ready:
- Clear all organic topsoil and debris from the designated drop zone down to stable, compacted sub-grade soil.
- Pour a reinforced concrete pad that extends at least six inches beyond the footprint of the unit on all sides.
- Check the surface with a long spirit level in multiple directions to ensure zero slope across the span.
- Install heavy-duty anchor bolts or tie-down brackets into the concrete matching the layout specs provided by your manufacturer.
- Verify that water drains away from the pad edges so rain pools never form around the base of the structure.
Finalizing Power and Communication Connections
The final stage of deployment links your standalone unit into your facility's core infrastructure. Bring your electrician on-site to tie the main feed into the internal breaker panel. Test the HVAC system immediately to make sure it handles the internal volume. Run your ethernet cables and security intercom wires through the designated floor or wall conduits, and test the badge readers and gate arms before you sign off on the installation.
Frequently Asked Questions
What is the difference between a guard post and a guard house?
A guard post is typically a compact, highly transparent structure designed primarily for 360-degree observation and quick check-ins at parking lots or internal checkpoints. A guard house is a more substantial, insulated building designed for longer shifts, offering more interior space, advanced climate control, and better protection against forced entry.
How are prefab guard houses delivered and installed?
Prefab units arrive fully assembled on a flatbed trailer or via crane truck. The delivery crew uses a crane or tilt-bed system to set the unit directly onto your prepared concrete slab or foundation piers. Once placed, technicians bolt down the frame and connect your external utilities.
What utilities are required for a guard house container?
Most units require a standard electrical service drop—usually 120V or 240V depending on the HVAC and equipment load—along with internet or telephone lines for communication and access control systems. Some sites also run water and sewer lines if the unit includes an integrated restroom.